Nothing says Halloween quite like carving a pumpkin, and in the past few years, fans of the holiday have taken it up a notch, with Instagram filling up with photos of artfully executed ideas. Whether you’re going for a classic Jack-o-lantern or you’re going to try your hand at something trickier, our step-by-step guide to carving a Halloween pumpkin is a must.
1. Picking your pumpkin
Come October, there’s an overwhelming choice of pumpkins, squashes and gourds in supermarkets and on fruit and veg stalls. What you’re after is a big, bright orange carving pumpkin as opposed to a cooking pumpkin. This is because carving pumpkins are deliberately bred to be easier to cut. You’ll find less of the sweet, perfect-for-stewing flesh inside, however, so if you’re hoping to get a meal out of your pumpkin, you can opt for a larger, cooking variety — just be prepared for a bit more hard work.
When it comes to selecting the pumpkin itself, look for one that’s relatively symmetrical. The Kitchn recommends tapping it — it should sound hollow — and resting it on the floor to check that it stands up straight.
2. Assembling your tools
Once you’ve got your pumpkin home, it’s time to gather what you’ll need and start the prep. We recommend:
- A pen — preferably a marker
- A decent sized spoon
- Two different sized knives. A large, super sharp serrated knife and a smaller paring knife is the perfect combination
- A ramekin or bowl
- A tealight
3. Get creative
First, take the pen and sketch out your design on the outside of the pumpkin. If you’re going for a truly professional pumpkin aesthetic, you might want to print out a design to trace around, but freehand works just as well. Next, draw a circle around the pumpkin’s stalk, too. Take the bigger of the two knives (the serrated one) and cut around this circle to create your pumpkin’s ‘lid’. Then grab your spoon and scoop out the plentiful seeds. Pop them in the ramekin or bowl (we’ll use them later on). Continue until the inside of the pumpkin is clean.
Now comes the fun part! Using your smaller paring knife, begin to cut out your design. Ideally, you should use a high quality knife that’s well balanced, as this reduces the risk of accidents when you’re performing more complicated (albeit lots of fun!) kitchen tasks.
4. Light it up!
Once your pumpkin is carved, put it in place on your windowsill or doorstep, turn out the lights and pop your candle inside: trust us, the trick or treaters are going to love it. Don’t forget to take photos and tag us on Instagram at @CirculonUK!
5. Waste not, want not
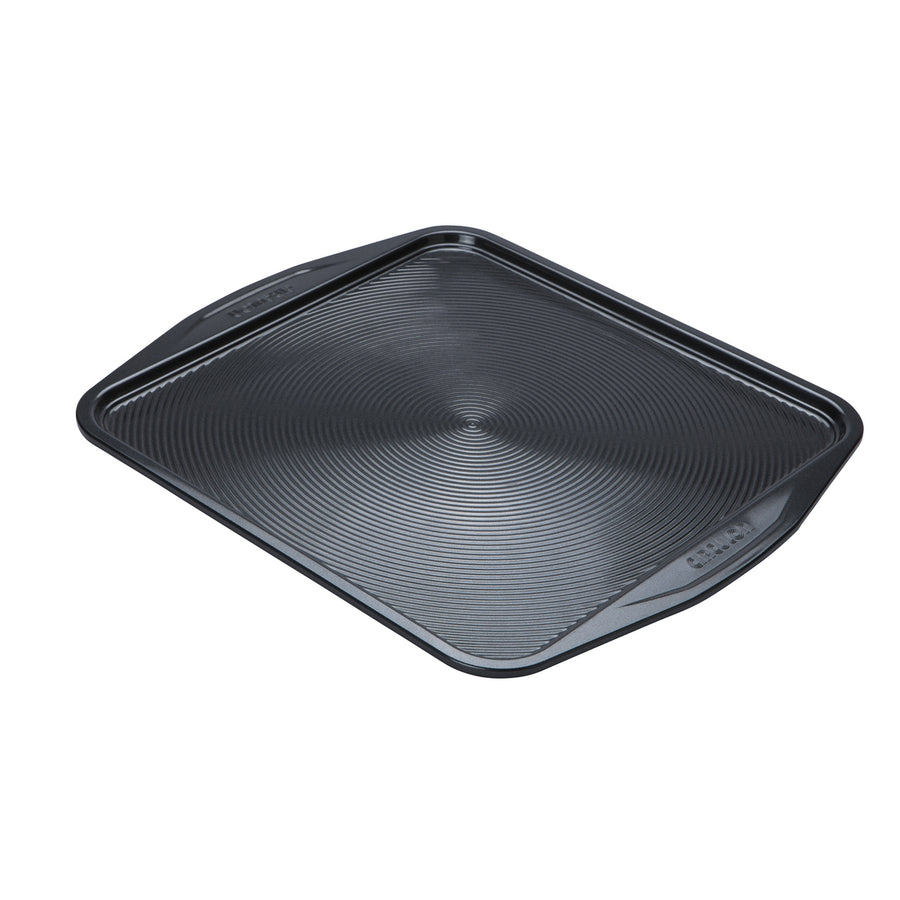
Now that you’ve sorted the decor, why not clean the seeds, toss them in olive oil and salt and roast them on a non-stick baking tray for 10 minutes — the perfect festive snack!
Has your Halloween pumpkin spooked the neighbours? Let us know on @CirculonUK on Instagram.


